August 6, 2016

Banana Nut Muffins

Wondering what to do with those over rip bananas siting on your counter?  Make these muffins and you won't be disappointed.  The moist banana muffin combined with the crunchy nutty topping is a perfect combo.  If you're like me then you've noticed that banana nut muffin mixes taste a little funny.  These homemade muffins are very easy to whip up and taste way better than the prepackaged kind.
These are best eaten immediately.  They are still yummy the next day but the topping will not be crunchy and that's the best part.

Ingredients:
  • 1 1/2 cups AP flour
  • 1/2 tsp cinnamon
  • 1 tsp baking soda
  • 1 tsp baking powder
  • pinch of salt
  • 2 or 3 ripe bananas, mashed*
  • 2/3 cup sugar
  • 1 egg
  • 1 1/2 tsp vanilla
  • 1/2 cup butter, melted
Directions:


  1. Preheat oven to 375° and prepare muffin pan.
  2. Whisk flour, cinnamon, baking soda and powder and salt. 
  3. In a separate bowl, thoroughly mash bananas.  Add egg, sugar, butter and vanilla.
  4. Add flour mixture to wet ingredients and gently stir until combined.  Don't over mix! 
  5. Pour into muffin cups.
  6. To make topping, combine 1/3 cup brown sugar, 2 tbsp AP flour, 2 tbsp old fashioned oats, 2 tbsp softened butter and 1/3 cup of walnuts or pecans.  Mix together until butter is incorporated.  Generously top muffins with this mixture.
  7. Bake for 20 minutes or unil golden and center is cooked through.

Eat and enjoy!

* Depending on the size of your bananas, you may need 2 or 3. 
** makes 12 muffins

June 16, 2016

Roasted Tomato Basil Soup

What to do when your garden is overflowing with beautiful, ripe tomatoes and basil?  Why make this soup of course.  Store bought tomatoes also work in this  soup.  Now, you won't catch me eating a raw tomato from the store.  It just doesn't taste the same.  I think all types work in this soup, garden, roma, grape and cherry.
    
     The only thing missing from this picture is a gooey grilled cheese sandwich.
Roasting the tomatoes, onions and garlic give them extra flavor. 

An immersion blender is definitely your friend with this soup.  You could use a regular blender but be careful not to burn yourself.

Ingredients:
  • 1 1/2 lb roma tomatoes or any garden tomato, halved
  • 1/2 - 1lb cherry tomatoes
  • 2 1/2 cup low sodium chicken broth
  • approx 3 tbsp olive oil
  • 15-20 basil leaves
  • 4 cloves of garlic, whole
  • salt and pepper to taste
Directions:
  1.  Preheat oven to 425°.  Place tomatoes on baking sheet and toss with 2 tbsp olive oil.  Season with salt and pepper.  Place onions and garlic on separate baking sheet lined with foil.  It makes clean up easier.  Toss with 1 tbsp olive oil and season with salt and pepper.
  2. Bake in oven for 30-40 minutes.  Keep checking, the onions will be done before the tomatoes.  Look for golden edges.  Remove from oven and peel skins away from tomatoes.  Don't skip this step or you'll have weird textures in the soup.
  3. Throw all veggies in a large pot with the chicken broth and basil.  Bring to a boil.  Reduce heat and simmer for 30 minutes.  
  4. Blend with an immersion blender until smooth.
  5. Season to taste and serve warm.  I like to add a splash of cream to my bowl.

* makes about 3-4 servings.
Eat and enjoy


June 3, 2016

Jacques Torres Copycat Chocolate Chip Cookies

This chocolate chip cookies recipe has some unusual, not in every kitchen flours but it is worth the extra cost and refrigerator space.  I store my flour in the refrigerator.  I find the flour stays fresh longer.  These cookies are thick and chewy but has crispy edges.  According to "Mr. Chocolate" himself, the low gluten in the pastry flour combined with the high gluten in the bread flour makes the perfect textured cookie.  I must say that this is our household fav cookie!  I hope you like it too.
Always bring your cold items to room temperature (eggs, butter, flour etc.)  Now, I used 11 oz bag of ghirardelli milk chocolate chips and 5 oz of semi sweet ghirardelli chocolate chips.  You can let your freak flag fly as high as you want.  I like bittersweet, semi sweet and milk chocolate chips.  You can buy chocolate bars and chopped it yourself ( more work for you).  I've even done M&M's and snowcaps.  You can add pecans or any other nut.  I've seen pretzel pieces added to cookie dough.  I prefer a plain jane, nothing but chocolate, chocolate chip cookie.
 Look at that yummy dough!  Now, it is recommended to refrigerate dough for at least 24 hours and up to 72 hours.  Who wants to wait that long for cookies???  I baked them right away and the cookies came out perfect. Don't forget to leave enough space in between each cookie for spreading does occur.
 Once cookies are out of the oven let cool for a few minutes in pan on a rack.  Then remove from pan and place directly on cooling rack until cool enough for storage.
I like to each my cookie with a large glass of milk in front of the TV.
Eat and enjoy!

Ingredients:

  • 2 sticks of unsalted butter, room temp
  • 3/4 cup plus 2 tbsp of sugar
  • 1 cup plus 2 tbsp brown sugar
  • 2 eggs
  • 2 tsp vanilla extract
  • 1 1/2 cup plus 1 tbsp pastry flour
  • 1 1/2 cup bread flour
  • 1 tsp salt
  • 1 tsp baking soda
  • 1 tsp baking powder
  • 16 oz your fav chocolate combo (mine is milk and semi sweet)

Directions:

  1. Preheat oven to 350°.  In a separate bowl, combine flours, soda, salt and baking powder.  Whisk together and set aside.
  2. In your mixer, cream together butter and sugars until fluffy.  Add eggs one at a time and vanilla.
  3. Slowly add in the dry ingredients  Don't over mix or you will end up with hockey pucks!
  4. Stir in chocolate chips.  Scoop cookies onto baking sheets.  I like a medium size cookies scoop but you can use a tablespoon.  
  5. Bake for 15 minutes or until lightly golden.  Longer or shorter baking times for bigger or smaller cookies.  
* recipe make roughly 30 medium size cookies


May 6, 2016

Strawberry Cake

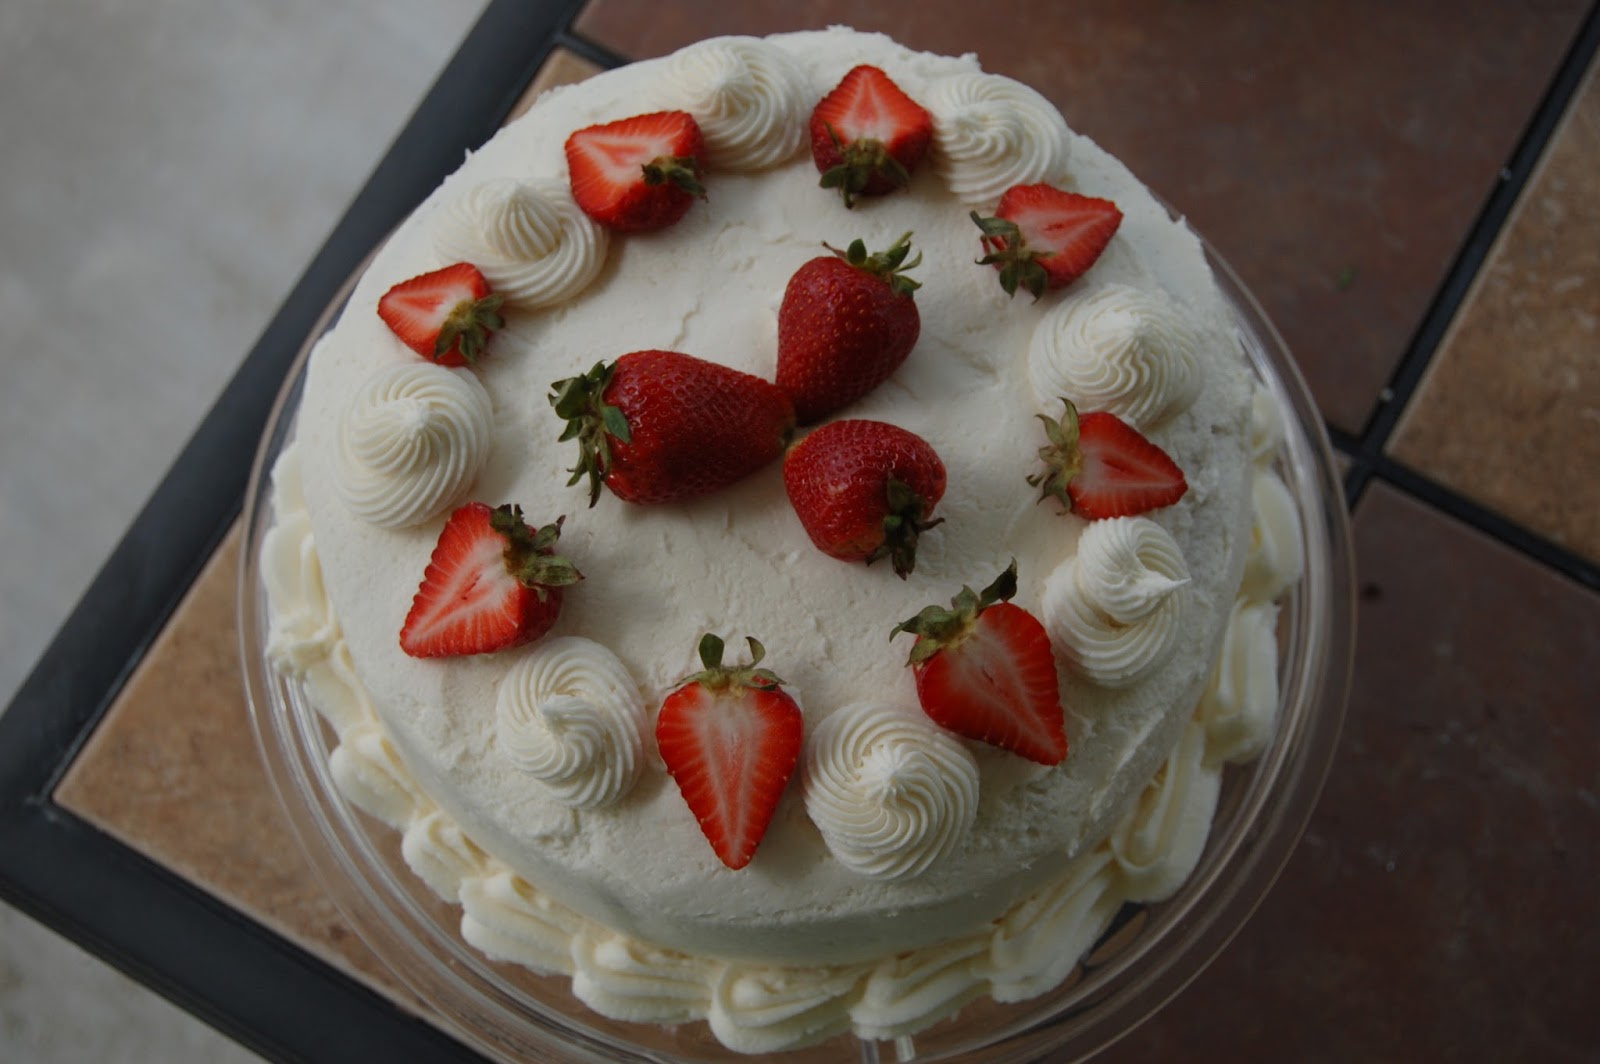
This easy strawberry cake will have your guest licking their plates.  It is very moist and has great strawberry flavor!  The pipeable cream cheese frosting is delicious also.
I love making strawberry desserts in the summertime!  Don't you?

Ingredients:
  • 2 sticks unsalted butter (1 cup), room temp
  • 2 cups sugar
  • 1 pkg. (3oz) strawberry gelatin
  • 4 eggs
  • 2 3/4 cup sifted cake flour*
  • 2 1/2 tsp baking powder
  • 1 cup whole milk, room temp
  • 1 tbsp vanilla 
  • 1/2 cup strawberry puree**
  • fresh strawberries for decorating, optional

 Directions:
  1. Place eggs, butter and milk on counter at least two hours before baking.  It takes awhile for them to reach proper room temperature.
  2. Preheat oven to 350°.  Grease, flour and line two 9 inch round cake pans.  I like to spray nonstick cooking spray, line with parchment paper, spray again and flour.  Shake off excess flour.  If you take the time to do this extra step, your cakes will always come out of your pans.
  3. Cream butter, sugar and gelatin in mixer until light and fluffy.  Add eggs one at a time until just mixed.
  4. In a separate bowl, combine flour and baking powder.  Add to batter alternating with milk.  Always begin and end with flour.  This helps from a flour cloud in your kitchen.  Don't over mix! Over mixing makes for tough cakes.
  5. Stir in vanilla and strawberry puree.
  6. Pour evenly into prepared pans and bake for 25-30 or until toothpick comes out clean.  Allow to cool in pans over cooling rack for 10 minutes before inverting.  Let cakes cool completely before frosting.  I used this pipeable cream cheese frosting.  Strawberry buttercream would also be great.

* sifted cake flour means sift before measuring.  It makes a difference
** for strawberry puree: add a bag of frozen strawberries and sugar to blender and puree.  Omit sugar if buying sweetened berries.  Add a little sugar and taste as you go.  I think I added 1/3-1/2 cup of sugar.

Sorry the cake is so messy in this picture.  I was too full on cake to clean it up.


April 2, 2016

Out Of This World Breakfast Potatoes


These potatoes right here will be the best thing to happen to you all day.  So do yourself a favor and whip these suckers up for breakfast this week.  It's super easy and delicious.

     I've been away for a bit.  I haven't been too impressed with my photography lately and it's making me uninterested in blogging.

     So, back to the potatoes; What do you make when you buy a 20lb bag of potatoes on sale?  Start off with these breakfast potatoes.  More than likely you have all these ingredients on hand.  The great thing about this dish is you can make it your own; Don't like jalapenos - leave them out, replace the bacon with ham, you can even throw in some mushrooms. 

I use an cast iron skillet.  It really gives the potatoes a good char flavor.  Throw in your potatoes, seasoning, bell pepper and onion.  Let that cook for a good 10 minutes so the potatoes can brown.
Next, throw in your sliced bacon and jalapenos.  Want to know a trick to slicing bacon?  Put it in the freezer for about 10-15 minutes.  It will make the job much easier.  Let that cook for about 5 minutes.  That rendered bacon fat will give these taters lots of flavor!

Your in the home stretch!  Are you drooling cause I am!  Throw in the garlic, parsley and green onions or chives.  Stir for a couple minutes and top with cheddar.  Once the cheese is added, I store the potatoes in the oven while I fry up an egg.  This will keep the potatoes nice and hot.
Now that's what I call breakfast!  Eat and enjoy!


Ingredients:
  • 1 Tbsp olive oil
  • 1 russet potato, diced
  • 2 slice bacon, diced
  • 1/2 yellow onion, chopped
  • 1/2 bell pepper, red or green;chopped
  • 1 jalapeno, sliced
  • 1 clove garlic, minced
  • 1/2 cup cheddar cheese, grated
  • seasoning(salt, black pepper & red pepper)
  • 1 Tbsp each of chopped parsley and green onions

Directions:
  1. Heat olive oil in 10" or 12" cast iron skillet.  Add potatoes, seasoning, onion and bell pepper.  Cook for 10 minutes or until the edges start to get crispy.  Med-High heat works for me.
  2. Add bacon and jalapeno to pot and cook for another 5 minutes.
  3. Lower heat and add garlic, parsley and green onions (chives work too).  Cook for another minute.  
  4. Turn off heat and add cheese.  Store in oven to keep warm while cooking eggs.  I like to adorn my potatoes with an over easy egg.
*serving size: 2-3 people

March 2, 2016

Peanut Butter Cookies


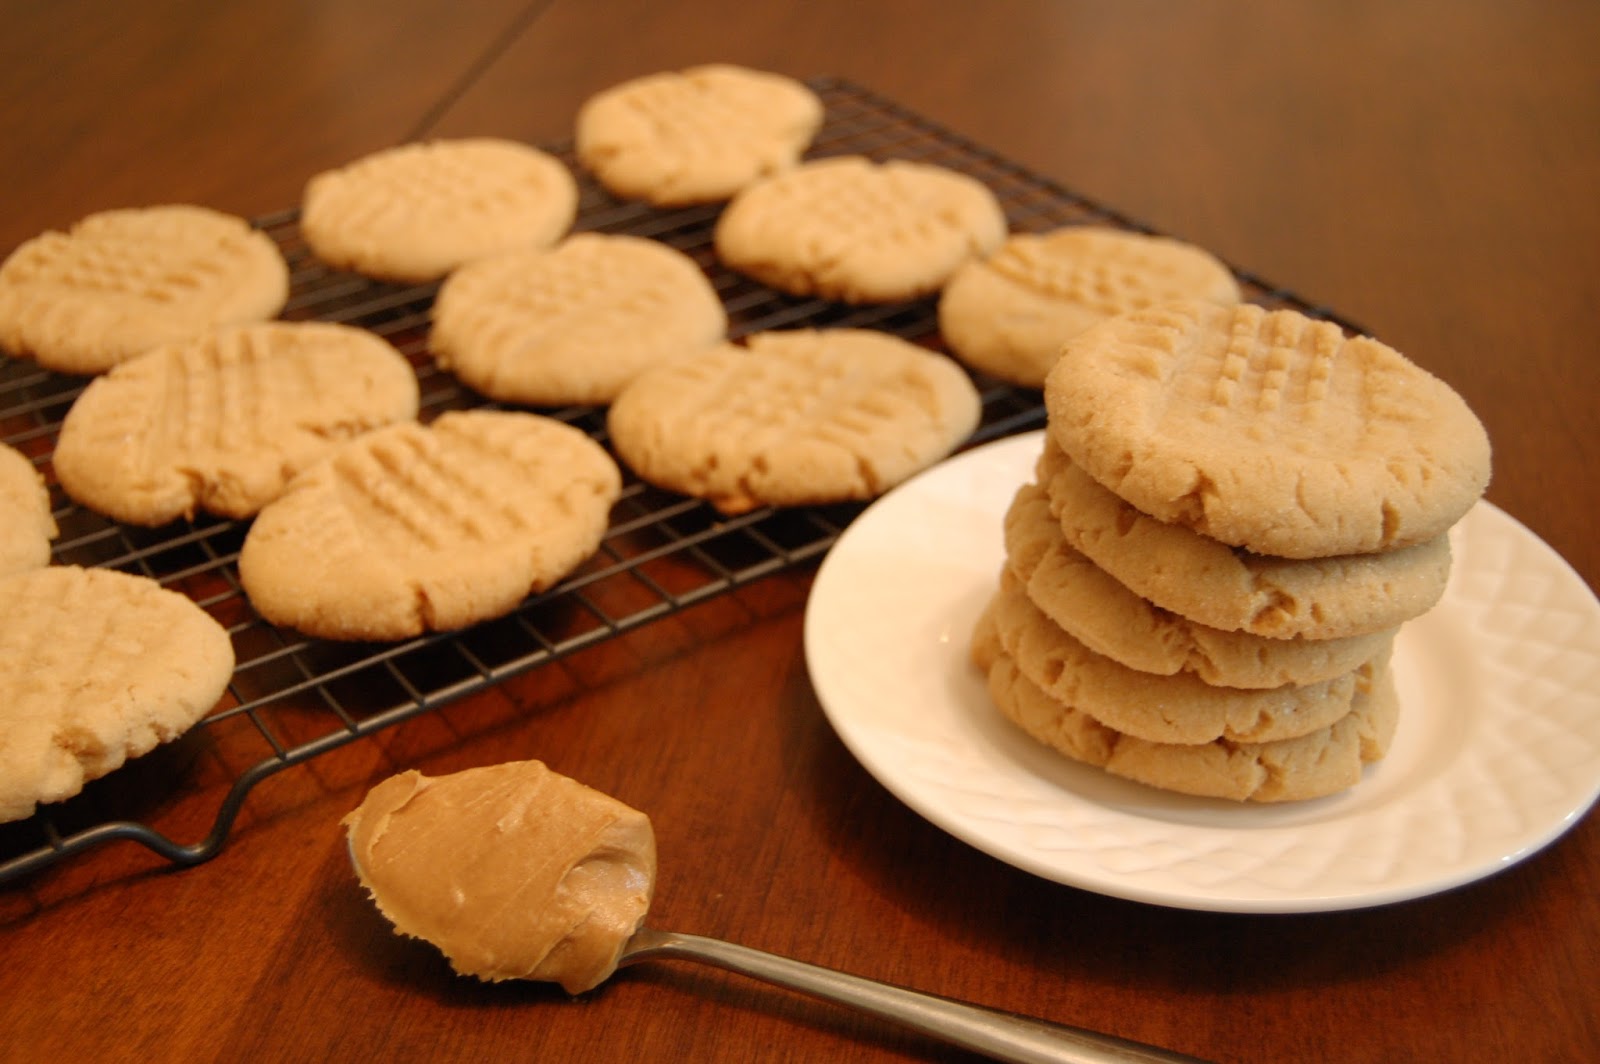
All you need is this classic peanut butter cookie and a glass of milk.  You will not be disappointed.  These cookies are easy to make and eat.  They will disappear in the blink of an eye! 

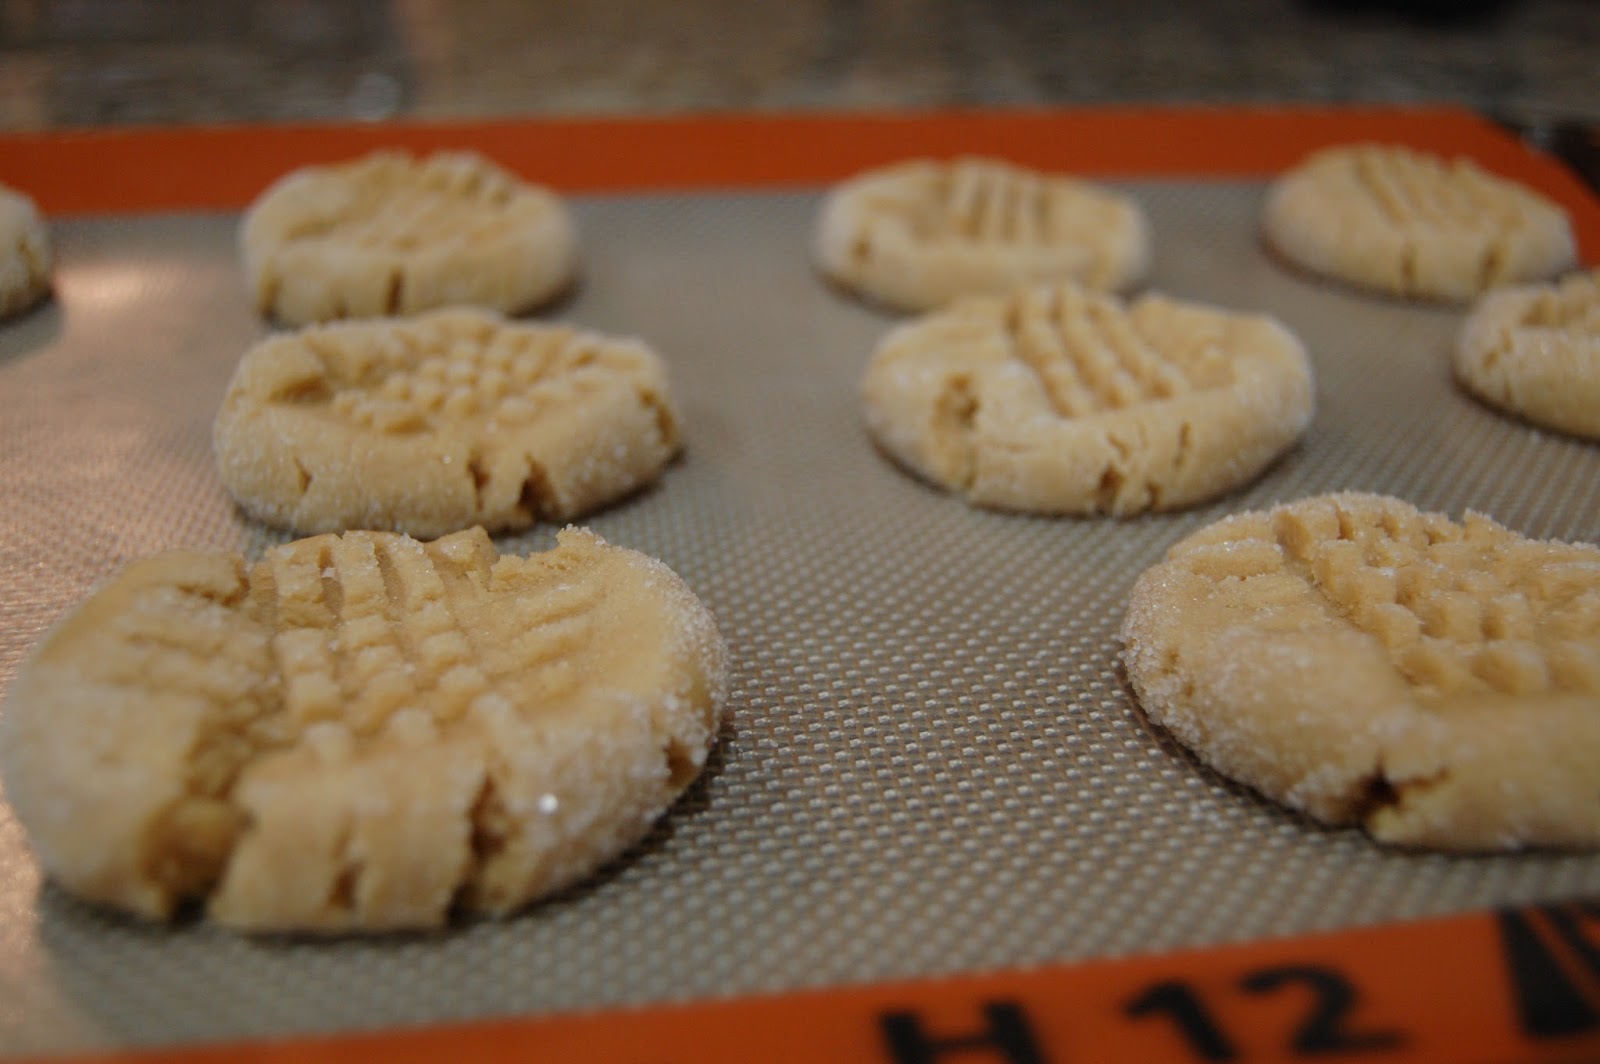
Once shaped into balls, I like to roll them in regular granulated sugar.  It gives the cookies a sparkle and a nice crunch.  Give the cookies the classic criss-cross  pattern with a fork.  This is optional but if you want the traditional look, go the extra mile.


Look how scrumptious!  Time to get these babies in the oven and in my belly!!!
Eat these bad boys as is or dipped in chocolate.  You can also use chunky peanut butter in place of smooth.  I wouldn't use natural peanut butter. It's too oily.  In these cookies, I use Peter Pan.  I would also suggest Jif or Skippy.

Ingredients:
  • 2 sticks of unsalted butter, room temp (1 cup)
  • 1 cup granulated sugar
  • 3/4 packed brown sugar (light or dark)
  • 2 large eggs (room temp)
  • 1 cup creamy peanut butter
  • 2 tsp vanilla extract
  • 3 cups & 2 tbsp AP flour
  • 1 tsp baking powder
  • 1 tsp baking soda
  • 1/2 tsp salt
  • 1/2 cup granulated sugar (optional)
Directions:
  1.  Cream butter and sugars until smooth and fluffy, about 2 minutes.
  2. Add eggs one at a time and mix until combined.
  3. Add peanut butter and vanilla and mix on high until combined.  Scrape down bowl as needed.
  4. In a separate bowl, Whisk flour, baking soda & powder and salt together.  Add to the wet ingredients and mix on low until combined.  
  5. Cover dough with plastic wrap and chill for 3-24 hours.  This will insure that the dough doesn't spead all over pan while baking.
  6. Preheat oven to 350°.  Line baking sheet with silpat or parchment paper.  You don't want these babies sticking to the pan.
  7. Roll the dough into balls and roll in granulated sugar.  Place 2 inches apart on baking sheet.  Make a criss-cross pattern on top of dough with a fork.
  8. Bake for 10-12 minutes or until light brown,  The cookies will look raw but leave them in pan for 5 minutes before moving to a cooling rack.  They will set up, I promise.  

Makes approx. 2 1/2- 3 dozen cookies, depending on size.  Store in an air-tight container for one week.  It makes a lot of cookies, so share with your friends and family.

Eat and enjoy!

February 11, 2016

Valentine's Day Sugar Cookies

This sugar cookie recipe is my fav.  The cookies come out soft yet crispy and they do not spread.  I get a lot of inspiration from lifeloveandsugar.com.  Lindsay has some delicious recipes and they are easy to follow.
So, tell me what you think?  Not bad for my first time eh???


The key to a good sugar cookie is to have all your ingredients at room temperature.  Another good thing about this recipe, you don't have to refrigerate the dough for hours.  When it's time to move your cookies onto the sheet pan, you may have to use a spatula.  Some of my cutouts were stuck to my counter. 
Place your cookies on parchment paper or a silpat.  You don't won't these babies sticking to the pan.
Once cooled, let your creativity blossom!  I used this royal icing recipe.  It dries hard but not enough to chip a tooth like some others. 

Ingredients:
  • 1/2 cup unsalted butter, room temp
  • 1 cup sugar
  • 1 egg
  • 1 tsp pure vanilla extract
  • 2 cups AP flour
  • 1/4 tsp salt
  • 1 1/2 tsp baking powder
  • decorations: royal icing, sprinkles, pink and red tinting gel, icing bags, Wilton tips ( i used sizes 2 and 3)
Directions:
  1. Preheat oven to 350°.  Line your pan with parchment or these babies might stick to your pan.
  2. Cream butter and sugar until light and fluffy.  It takes a few minutes.
  3. Once fluffy, add egg and vanilla and mix until combined.
  4. In a separate bowl, whisk all dry ingredients.  Add to the wet ingredients and mix until combined.  You may have to scrape the bowl with a rubber spatula once or twice.
  5. On a clean, floured surface, roll out about 1/3 of the dough to 1/4 inch thick.  You will have to flour the rolling pin also.
  6. Now's the fun part, cut out your cookies shapes with whatever floats your boat.  I use a simple heart.  Move cookies to your baking sheet.  You may have to wiggle a metal spatula under the cookie to get it loose.
  7. Bake for 7-9 minutes.  They won't look done but will finish cooking out of the oven.  Allow to cool in pan for 5 minutes.  Move to cooling rack to completely cool.
  8. While cooling, you can make the icing.

Eat and enjoy!